Logging in to DHIS2
Open the CD2030 DHIS2 Data Extractor.
The first step is to connect the application to the relevant DHIS2 server. Users provide the DHIS2 instance URL together with their username and password. Once authenticated, the extractor can read only the metadata and data that the logged-in user is already authorized to access in that DHIS2 environment.

Important: Access rights are controlled by DHIS2, not by the extractor. If a user cannot see a dataset, organisation unit, or indicator in DHIS2, the extractor will not bypass those permissions.
Enter valid login credentials.
- Start by typing the first three letters of your country. If the url is indexed, it will pop up and you can select it. If your country’s DHIS2 instance URL is not shown, type it in full.

Tip: Start by confirming the DHIS2 base URL before entering credentials. A correct URL prevents login failures caused by pointing to the wrong server environment.
Cache metadata
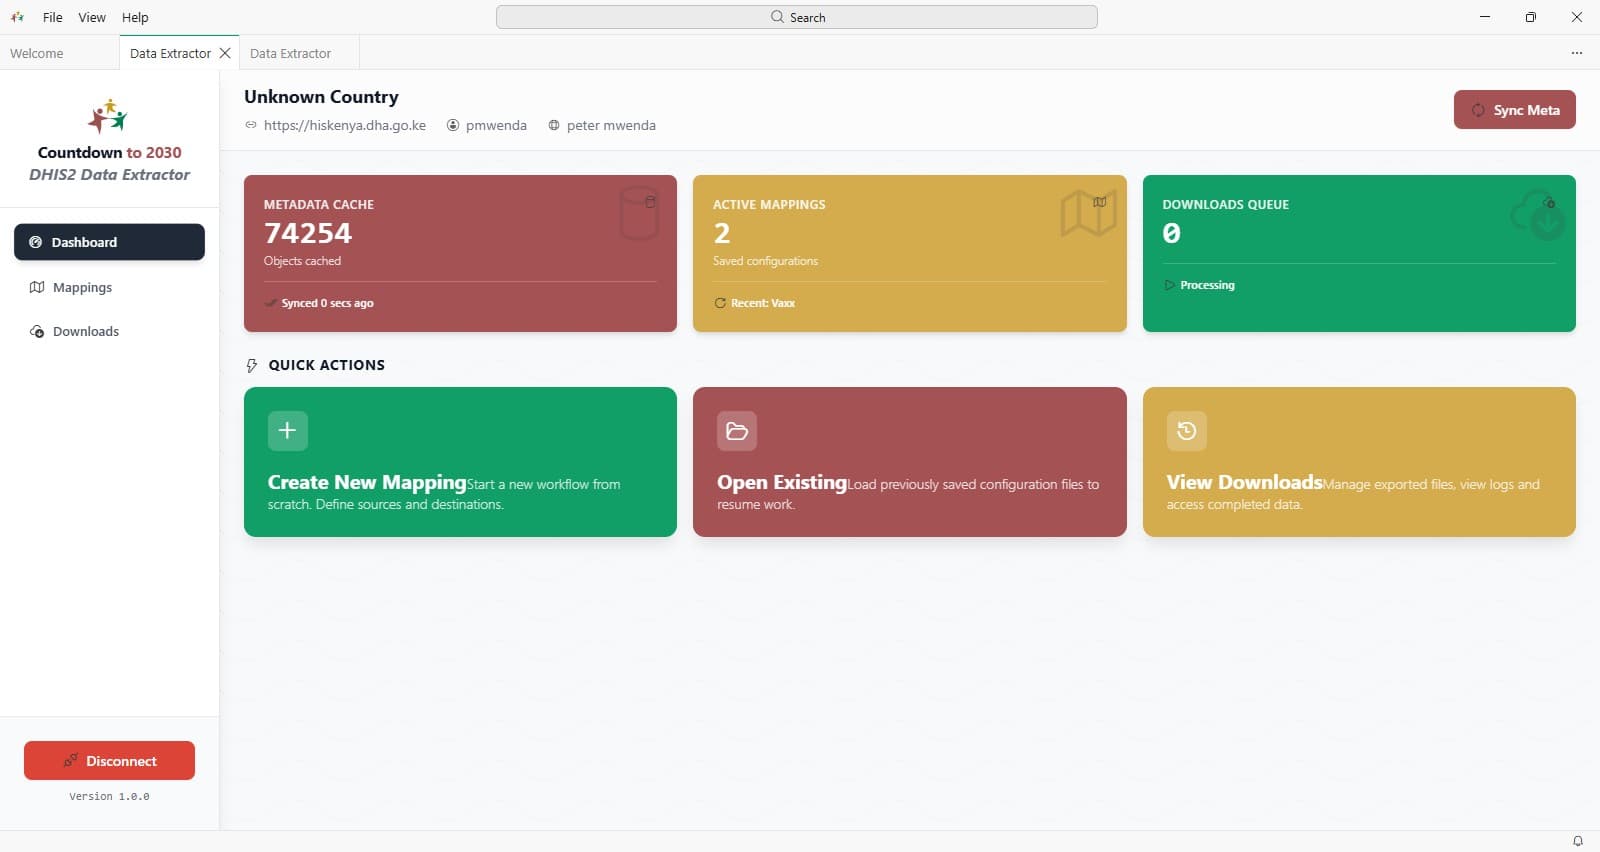 Done automatically following a successful login, this loads and locally caches the metadata needed for mapping and extraction.
After login, the extractor retrieves the metadata needed to understand the structure of the DHIS2 instance.
This can include items such as organisation units, data elements, indicators, category option combinations, datasets, and other configuration objects required for mapping and extraction.
Done automatically following a successful login, this loads and locally caches the metadata needed for mapping and extraction.
After login, the extractor retrieves the metadata needed to understand the structure of the DHIS2 instance.
This can include items such as organisation units, data elements, indicators, category option combinations, datasets, and other configuration objects required for mapping and extraction.
- If you think the DHIS2 data might have changed since the last session, Sync to ensure the metadata is updated.
Why caching helps:
- Metadata caching reduces repeated calls to DHIS2, speeds up setup for later runs, and creates a smaller download footprint because the extractor only needs to refresh what is necessary.
- Rather than downloading the same metadata repeatedly for every step, the extractor caches it locally for reuse during the session and in later work where appropriate.